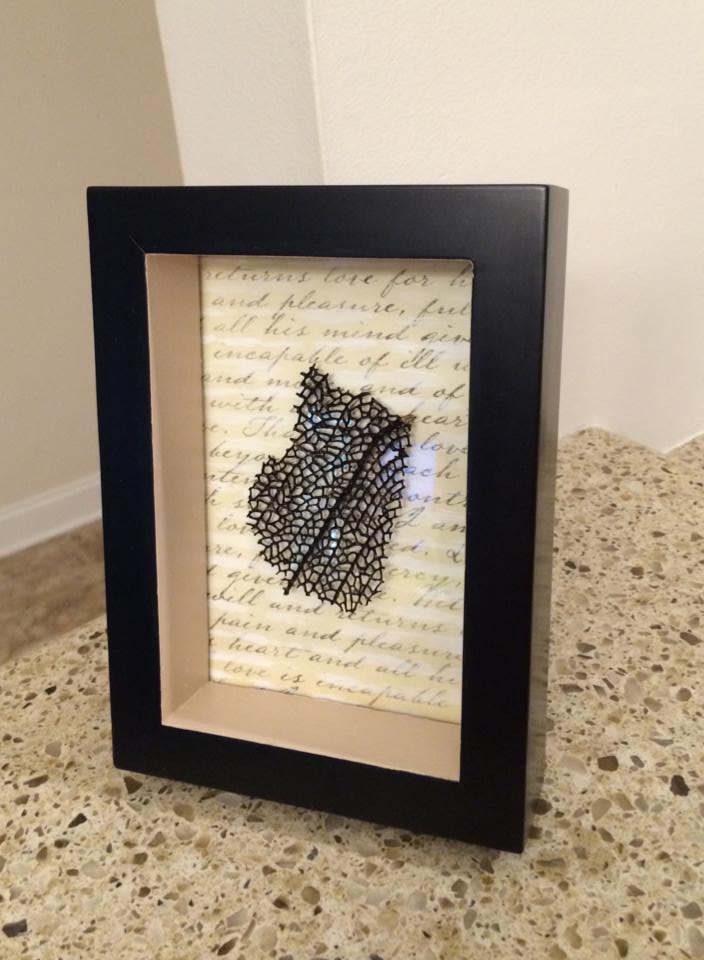
Today's post is written by my guest blogger and very artistic cousin-in-law Heather. After I saw how BEAUTIFUL her sea fan wall art turned out I knew I needed to share her tips and tricks with all of you. If we're being honest with ourselves, don't we all have a baggie of found sea things that we should be displaying? I know I do!
 |
| Heather's Sea Fan |
 |
| Other materials needed |
Materials needed:
Seashell or sea fan for center piece
Picture Frame (I chose a raised/shadow box picture frame)
Scrap book paper of choice
Acrylic paint (optional)
Paint brushes/foam brushes
Heavy craft glue
1. Paint a thin layer of mod podge on top of the sea fan to let it dry. If you are working with a fragile sea shell, you can do the same to strengthen it.
2. Select picture frame. Paint it to color (if needed) and let dry.
3. Cut out a piece of scrap book paper to fit inside frame/become the back ground for the shell. You can paint highlights/accents on to the scrap book paper if desired.
4. Once all pieces are dry (sea fan/shell, picture frame and scrapbook paper) assemble the frame with the scrap book paper in place of the picture.
5. Glue the sea fan to your frame/glass. The frame I chose is a drop shadow frame, however has the glass flush against the backing. Because of this, I decided to glue the sea fan on top of the glass, centered. If your glass is raised to the top of the frame (leaving space inside the frame/box for a shell) you will need to take an extra step of gluing the scrap book paper to the backing. To do this, you’d want to paint a thin coat of the glue to the back of the scrap book paper and adhere to the backing of the frame so the scrap book paper is strong enough to hold up the shell. Once done, then you’d glue the shell to the scrap book paper).


No comments:
Post a Comment